Simulation
Running a Simulation
On this page
Use the Simulation Workbench to prepare a simulation, configure the engine and analysis, add sources and loads, run preflight, and inspect results.
Open the workbench#
With a simulation (.simxml) in front, select Simulation → SPICE Simulation Panel or press F5 — F5 also starts a run. With a sheet of the design in front, the workbench offers New Simulation and Simulate a Block of This Sheet... instead; see Get a simulation.
The sidebar contains:
- Setup;
- Blocks;
- Testbench;
- Signals;
- Models;
- AI.
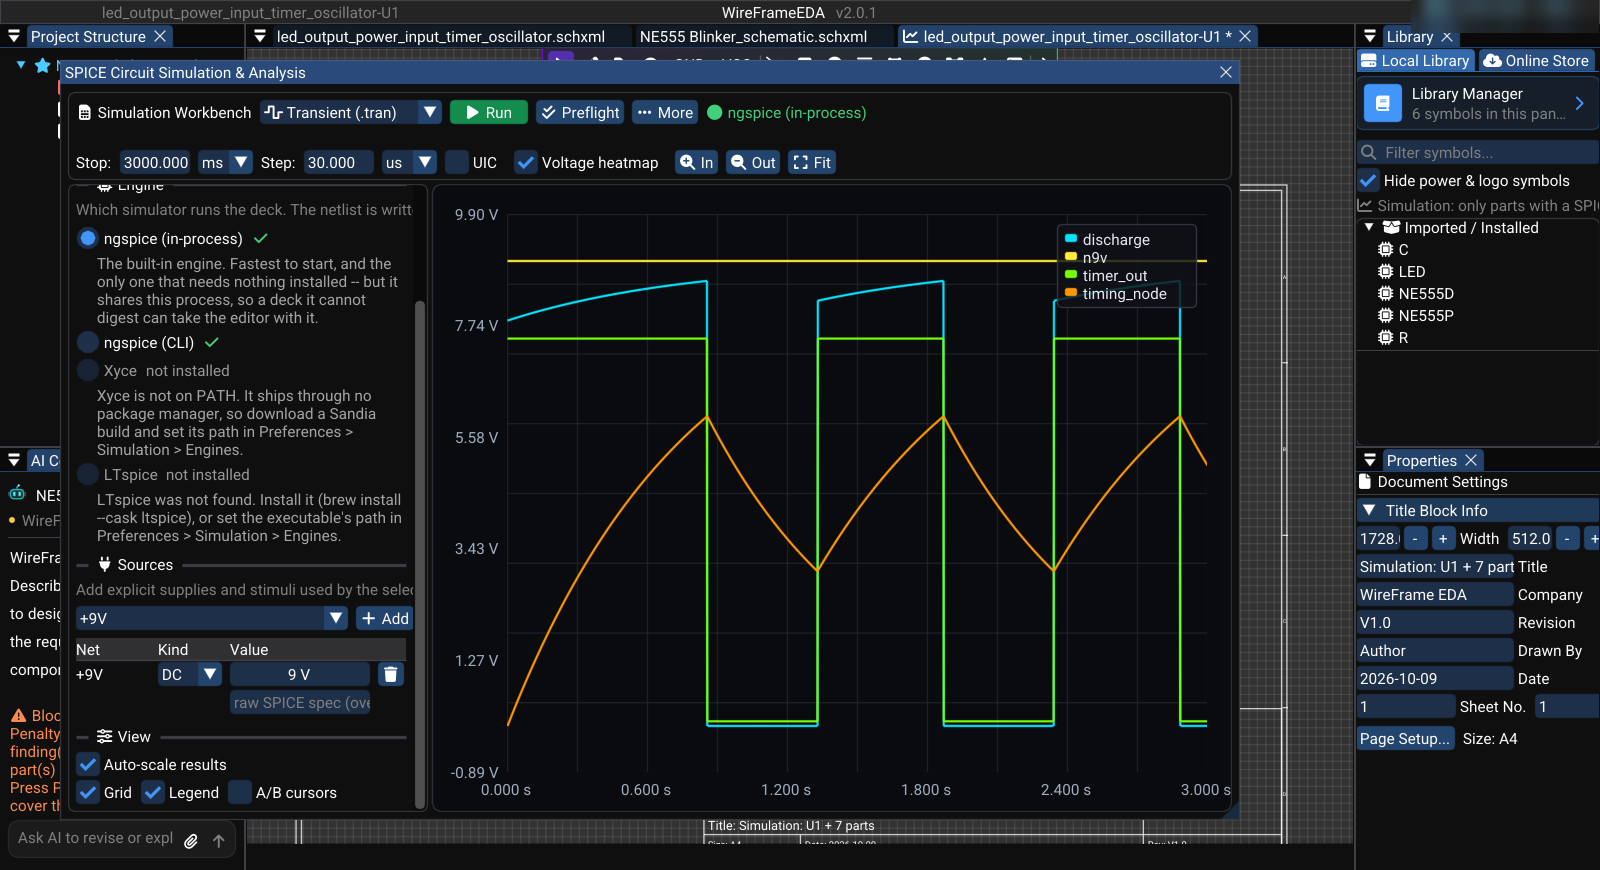
1. Select an engine and analysis#
In Setup:
- Select an available simulation engine.
- Choose the analysis type on the toolbar.
- Set its values, such as transient stop time and step.
- Add any required SPICE directives under Testbench → SPICE directives.
Configure external engine paths in Preferences → Simulation. A release build includes ngspice; alternative engines must be installed and selected explicitly.
2. Choose the circuits to run#
A simulation can hold several independent circuits — a block copied from a sheet is usually one. Open Blocks to see them, each with its readiness, and tick the ones to simulate; the netlist is built from those parts alone.
Use Select all, Only runnable (blocks with enough models and connectivity to simulate), None, and Re-scan after editing the circuit. Read the reason shown for any block that is not runnable.
3. Add sources and loads#
In Setup, add sources to the intended nets. In Testbench, add loads and assertions.
Check source polarity, units, waveform parameters, and reference ground. A source added to the wrong net can produce a plausible but irrelevant waveform.
4. Run preflight#
Click Preflight on the toolbar (or Simulation → Pre-flight Validation Checklist...). The Simulation Models & Preflight window lists every part with its mapped SPICE model and whether it is ready; Run Simulation in that window starts the run once nothing is missing.
Resolve blockers such as:
- missing ground;
- missing or incompatible SPICE models;
- invalid source or analysis values;
- disconnected required pins;
- unsupported selected blocks;
- engine not found.
Warnings require review even when the Run action remains available.
5. Select signals#
Open Signals and select the nets to plot. Use Named nets for a concise view or All when investigating an unknown issue. Too many traces can make the plot difficult to read.
6. Run and inspect#
Start the simulation and wait for the plot to update. Review:
- completion status;
- assertion results under Testbench → Last run;
- simulation log;
- selected waveform traces;
- cursor measurements when required.
If the run fails, open AI and use Why did the last run fail? or Review the preflight blockers, then verify the explanation against the log and circuit.
Stop or repeat a run#
Stop an active run only when required. After changing component values, source settings, models, scope, or analysis parameters, run preflight again before comparing results.
Common failures#
| Result | Check |
|---|---|
| Run is unavailable | A sheet is in front: open or create a simulation (.simxml) |
| Engine unavailable | Preferences → Simulation engine path and executable |
| No runnable blocks | Models, ground, connectivity, and block reasons |
| Empty waveform | Selected signals and completed analysis |
| Flat output | Source waveform, ground reference, operating point, and load — a copied block has no supply until you add one |
| Assertion not measured | Signal selection, analysis window, and assertion metric |
| Different engines disagree | Dialect, model version, sources, load, and analysis settings |