Start here
Tutorial: AI-Assisted Circuit Design
On this page
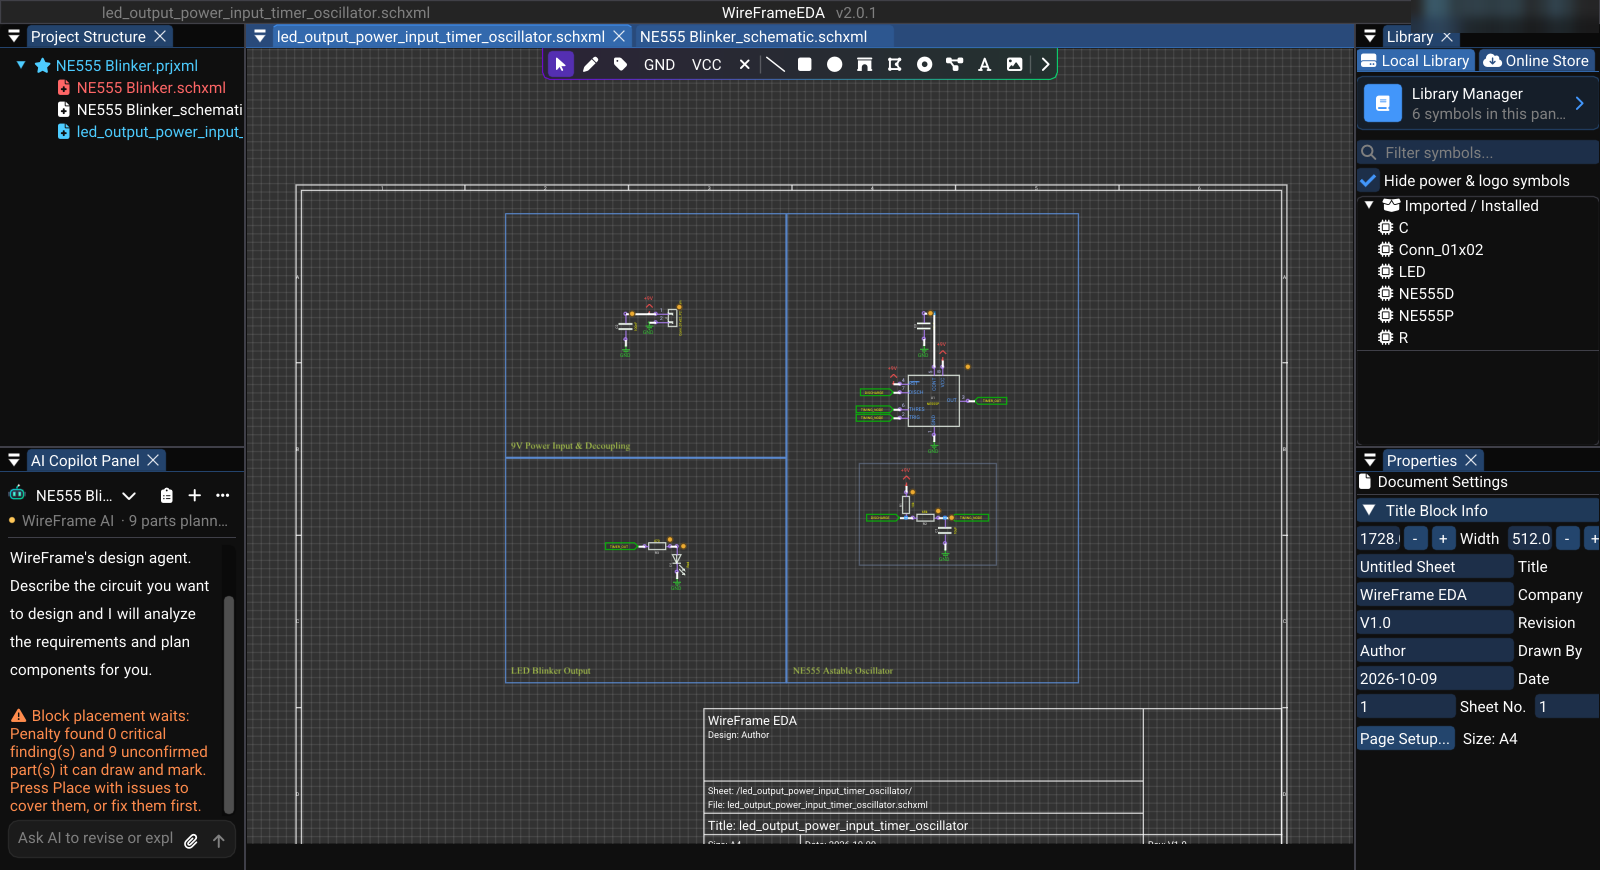
This tutorial uses AI Copilot to prepare a small NE555 LED blinker, review its proposed design, resolve missing library assets, and verify measurable behavior. AI output remains a proposal until you review and validate it.
Before you start#
You need a new project, a Pro or Max plan (the AI Copilot runs on its AI credit — see AI Credit and Your Data), suitable component libraries, and a simulation engine (ngspice is built in). Save the project before starting the request, then open View → AI Copilot Chat (Ctrl+Space).
1. State measurable requirements#
Send a prompt such as:
Design a 9 V NE555 astable LED blinker. Target 1 Hz, use a red LED, include current limiting and supply decoupling, and identify every assumption that needs my confirmation.
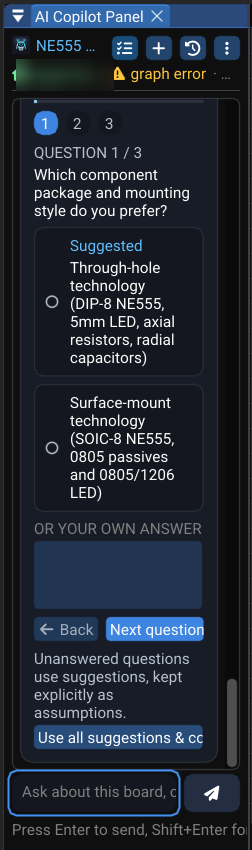
Include voltage, frequency, tolerances, package preferences, connector requirements, and board constraints when known. If Copilot asks a question, answer it before accepting a BOM; unanswered choices become risky assumptions.
2. Review the proposed design#
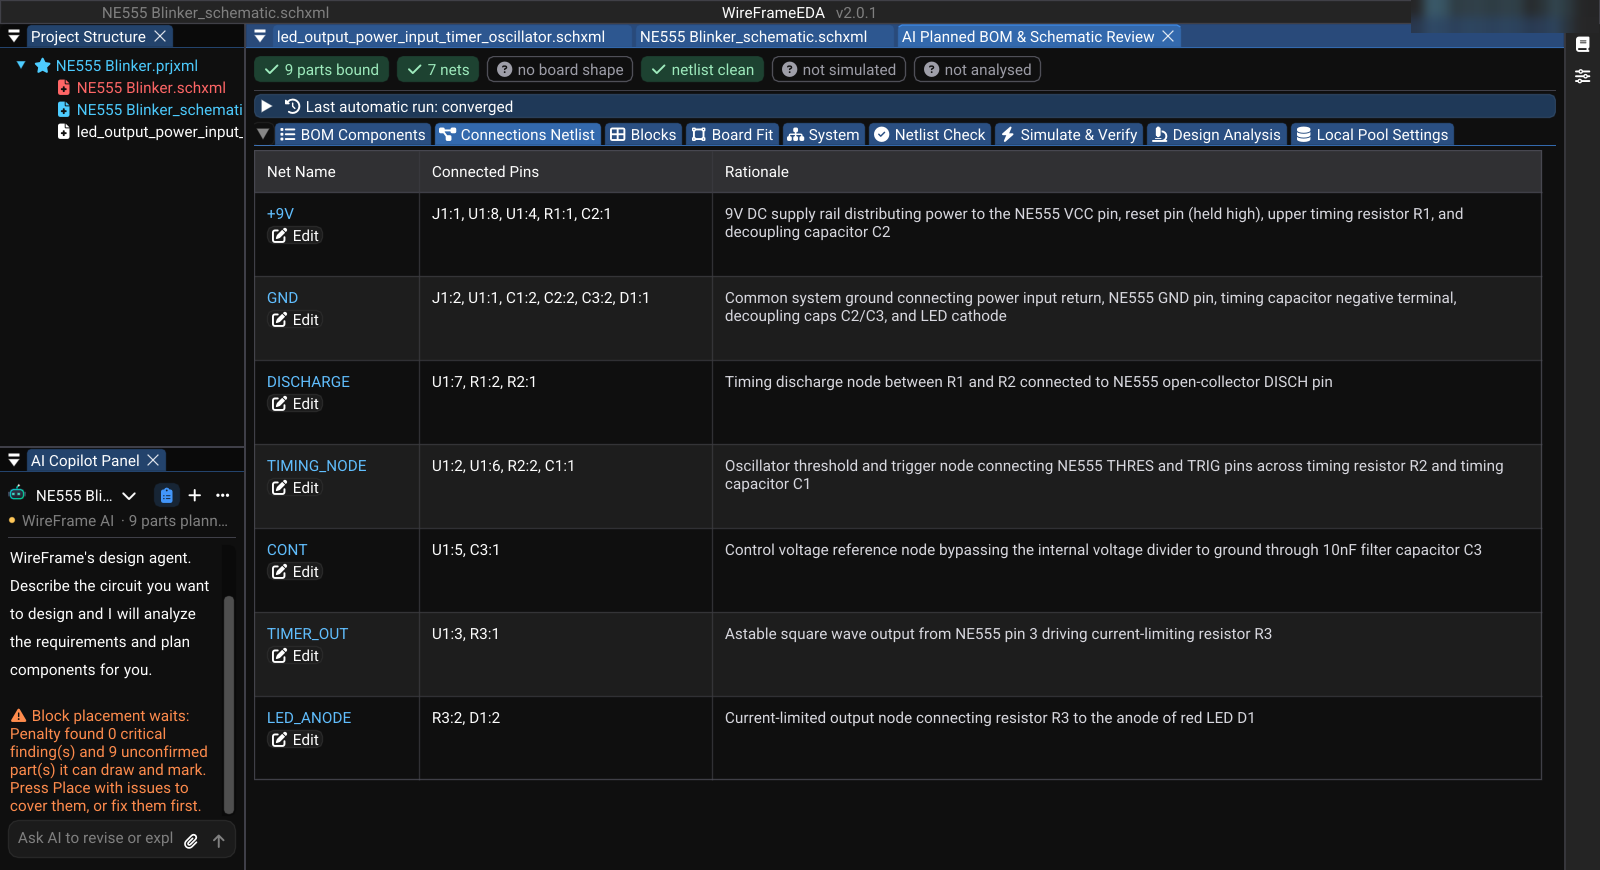
Open Design Plan in the AI Copilot panel. In the AI Planned BOM & Schematic Review window (the Component Review), work through the tabs:
- BOM Components — verify part identity, value, rating, package, and availability.
- Connections Netlist — compare every NE555 pin and LED polarity with the datasheet.
- Blocks — confirm that timing, output, power, and decoupling functions are present.
- Netlist Check — resolve pin and connectivity findings.
- Simulate & Verify — readiness checks and Run Simulation.
- Design Analysis — resolve warnings before applying changes.
- Local Pool Settings — decide which approved local assets may be reused.
Do not approve a component merely because its name matches. Package, pin numbering, ratings, and model pin order must also match.
3. Fix or create a missing component when required#
For a card marked Not in Pool, try Create first — it searches WireFrame's published library for the exact part. If it is not there, repair or build the part in the AI panel:
/fix U1 build the symbol and footprint from the datasheet
Attach the manufacturer's PDF with Attach datasheet..., review the plan Copilot shows, and select Apply. To build every missing part at once, ask in the chat — for example "fix the parts that cannot be used yet".
Before continuing, check pin count, pin names, electrical types, pad numbering, dimensions, pitch, orientation marker, and symbol-to-footprint mapping, then Confirm this component. Follow Fix or Create a Component for the complete acceptance checklist.
4. Add explicit simulation requirements#
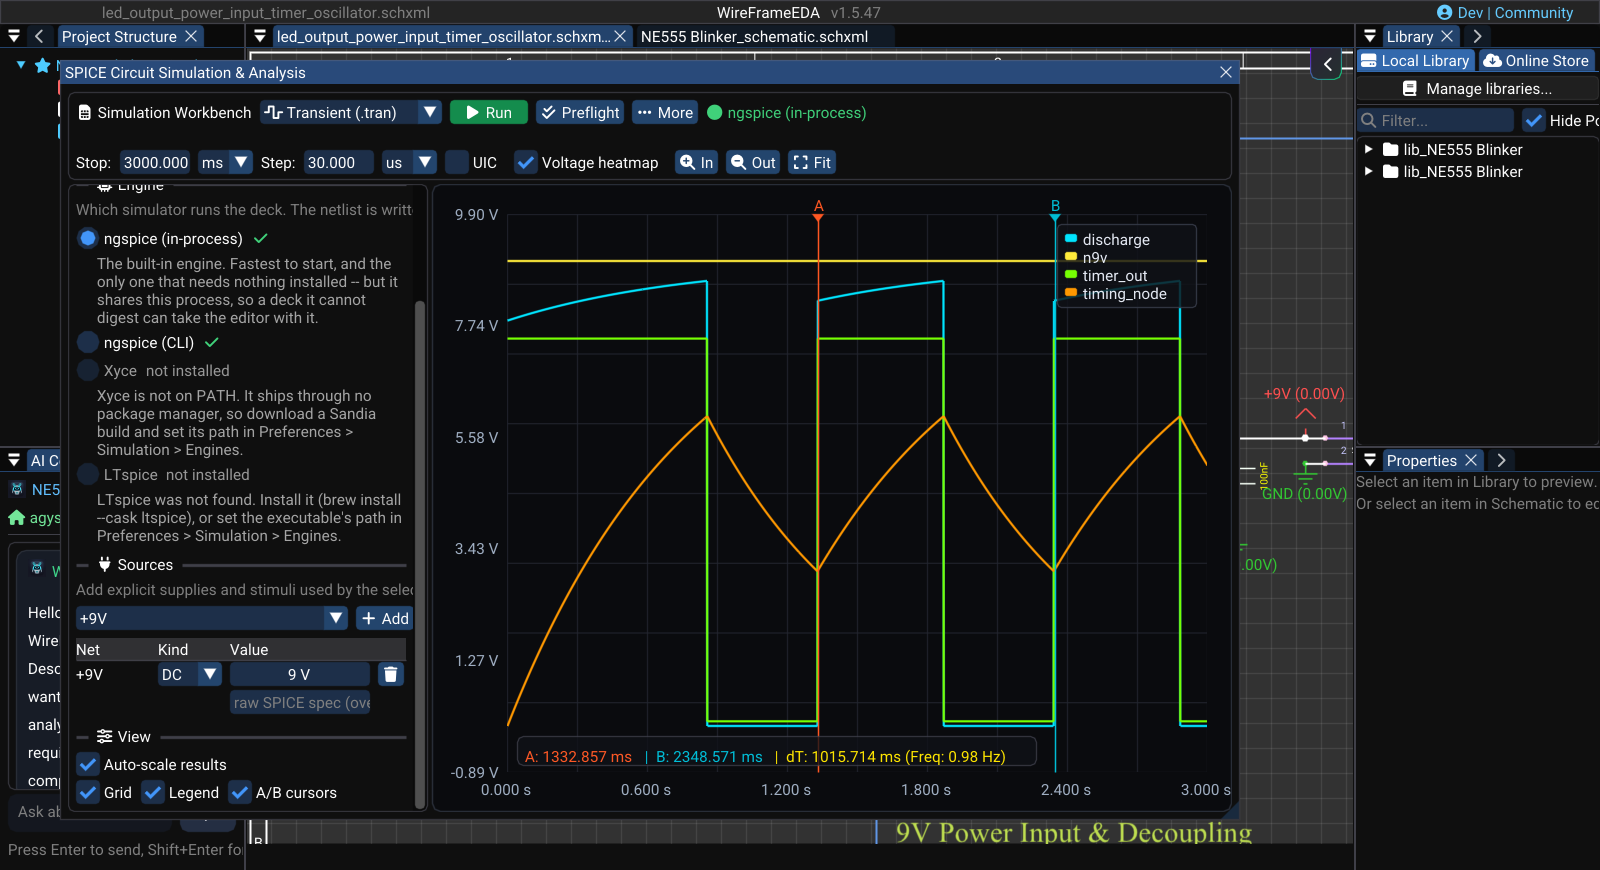
Open Simulate & Verify or the Simulation Workbench and define a transient run long enough to show several cycles. Add signals for the output and timing capacitor, then create assertions for the acceptable frequency range and output behavior.
A visual waveform that “looks right” is not a pass criterion. Use the A/B cursors or a measurement to confirm the period, and keep the engine, model revision, sources, loads, and assertion results with the review.
5. Apply, place, and route#
Apply only the reviewed proposal. Run ERC on the generated schematic, then use Tools → Update Schematic to PCB. Review footprint orientation and board constraints, then type /layout in AI Copilot for an assisted placement and routing proposal — nothing changes until you select Apply to the board.
After any assisted placement or routing:
- Confirm connectors, controls, indicators, mounting holes, and keepouts are practical.
- Check that every ratsnest connection is resolved intentionally.
- Inspect vias, layer changes, clearances, and return paths.
- Run DFM/DRC and correct every release-blocking violation.
See Placement and Routing Assistant.
6. Prepare release output#
Save the verified revision, generate the fabrication package, and inspect representative Gerber and drill outputs. Check the BOM, IPC-D-356A, and manifest before archiving the package.
The tutorial is complete only when the schematic, generated library assets, simulation evidence, PCB checks, and fabrication archive all refer to the same saved revision.